 快速部署cerebro-v0-9-4监控es集群状态
使用 docker-compose 进行部署。
$ cat docker-compose.yml
version: '2'
services:
  cerebro:
    image: registry.cn-hangzhou.aliyuncs.com/eryajf/cerebro:v0.9.4
    container_name: cerebro
    volumes:
      - ./conf:/opt/cerebro/conf
    restart: always
    ports:
      - "80:9000"
1
2
3
4
5
6
7
8
9
10
11
2
3
4
5
6
7
8
9
10
11
其中的 conf 目录可以下载源码 (opens new window)仓库中的 conf 目录进行编辑。
重要的配置文件是 conf/application.conf,我们可以通过编辑此文件,实现对日常监控集群的常驻添加:
$ git clone https://github.com/lmenezes/cerebro.git
$ mv cerebro/conf ./
1
2
2
编辑对应配置文件:
$ tail -22 conf/application.conf
# A list of known hosts
hosts = [
  {
    host = "http://10.1.1.1:9200"
    name = "test-6.5.4"
  #  headers-whitelist = [ "x-proxy-user", "x-proxy-roles", "X-Forwarded-For" ]
  }
  {
    host = "http://10.1.1.2:9200"
    name = "test-7.7.1"
  #  headers-whitelist = [ "x-proxy-user", "x-proxy-roles", "X-Forwarded-For" ]
  }
  # Example of host with authentication
  #{
  #  host = "http://some-authenticated-host:9200"
  #  name = "Secured Cluster"
  #  auth = {
  #    username = "username"
  #    password = "secret-password"
  #  }
  #}
]
1
2
3
4
5
6
7
8
9
10
11
12
13
14
15
16
17
18
19
20
21
22
23
2
3
4
5
6
7
8
9
10
11
12
13
14
15
16
17
18
19
20
21
22
23
启动服务:
$ docker-compose up -d
1
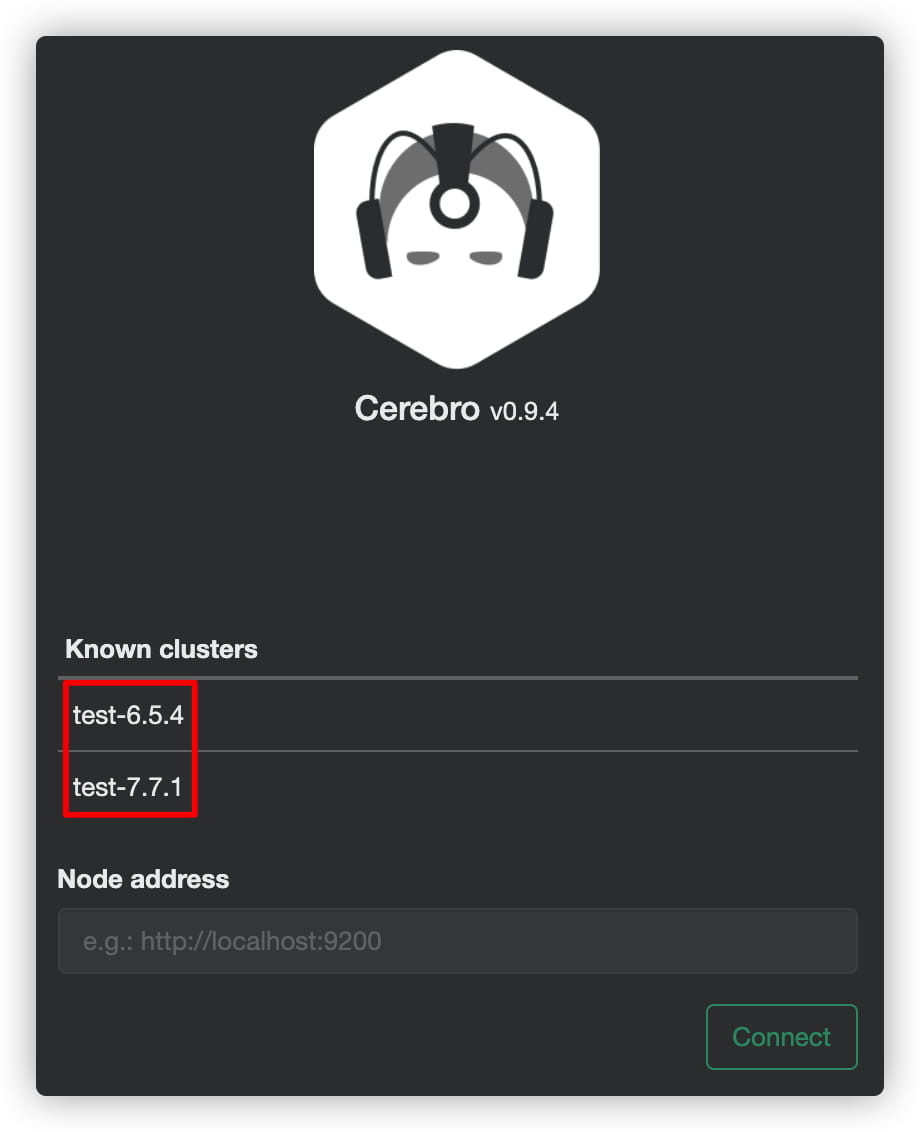
然后可以在页面上看到对应的记录:

上次更新: 2024/01/11, 14:21:50

 |
|